

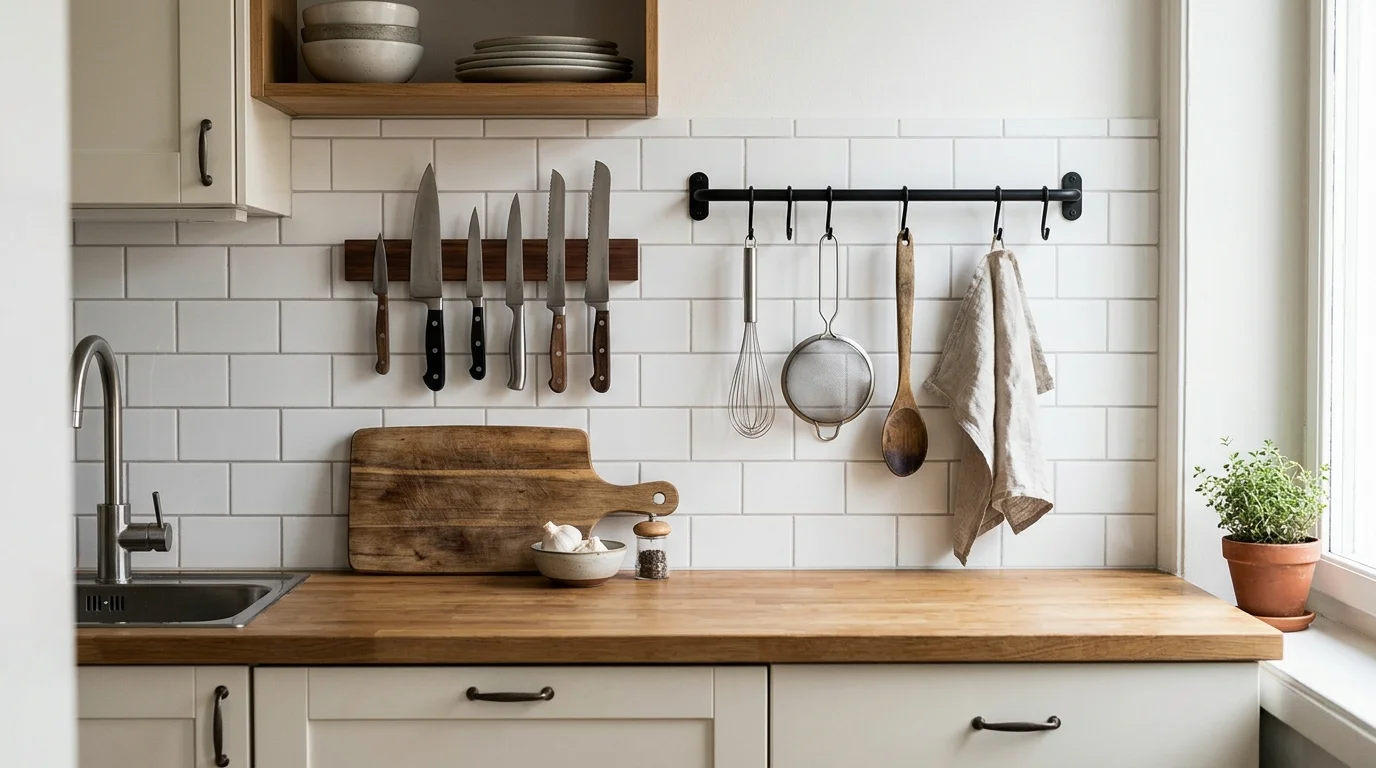
You can add kitchen storage without cabinets by using four spaces most kitchens leave empty: a stretch of wall, the back of a door, a narrow gap beside the refrigerator, and the ceiling above the counter. This guide covers a magnetic knife strip, a pot rack, a slim rolling cart, and adhesive hooks, with listed weight limits and mounting steps for each.
A six-tier metal cart listed at 6.1 inches deep and 61 inches tall, for example, adds six shelves in a gap that would otherwise hold nothing. Most installs below need a stud finder, a level, a pencil, and a drill, while the cart and the hooks need no drilling at all, which suits renters. In October 2026, retail prices ran from about $13 for a basic magnetic strip to more than $100 for a forged pot rack set. If you would rather spend nothing first, try the steps in our guide to organize your home without buying anything.
Quick Comparison of the Four Methods
| Method | Where it goes | Listed capacity | How it mounts | Best for |
| Magnetic knife strip | Wall within reach of the prep counter | Not standardized across brands. Check the product page. | Screws into studs or anchors, or mounting tape on tile | Knives and small metal tools |
| Pot rack, ceiling or wall | Above the island or stove, or on the wall beside it | Ceiling racks: about 40 to 130 lb in retail listings. One 16-inch wall rail: 15 lb in drywall anchors, 25 lb in studs. | Screws into ceiling joists or wall studs | Pots, pans, and utensils on hooks |
| Slim rolling cart | Gap beside the refrigerator | 30 lb per shelf on one six-tier metal cart. Some carts list only a total for the whole cart. | No mounting. Lockable wheels on some models | Oils, spices, and canned goods |
| Adhesive hooks | Smooth painted wall or door | 1, 3, 5, 7.5, or 15 lb per hook, depending on size | Adhesive strips, no tools | Oven mitts, towels, and light utensils |
Capacities come from manufacturer instructions and retail listings reviewed in October 2026, and they differ from product to product. Always use the rating on the product you buy.
Check Your Walls and Ceiling Before You Buy
Three facts decide what you can mount and where.
Wall type. Drywall holds light loads with anchors, but heavier loads need screws that reach a stud. Tile calls for adhesive mounting, covered under the knife strip below. Plaster over wood lath is a special case, and at least one manufacturer states that its drywall anchors are not strong enough for lath and plaster walls.
Stud spacing. Studs in most homes sit 16 inches apart, measured from the center of one stud to the center of the next, and some walls use 24 inches. A standard 2×4 stud is only 1.5 inches by 3.5 inches, so your screw has little room for error. Find one stud with a stud finder, measure in 16-inch steps to the next, and confirm it with the finder, because spacing is not always exact.
Your lease. Screws leave holes, and a ceiling rack means drilling into joists, which some landlords do not allow. Adhesive hooks and a freestanding cart avoid both. Before you add anything, remove what you never use. Our guide on how to declutter your home fast covers that step.
Magnetic Knife Strip: Get Knives Off the Counter
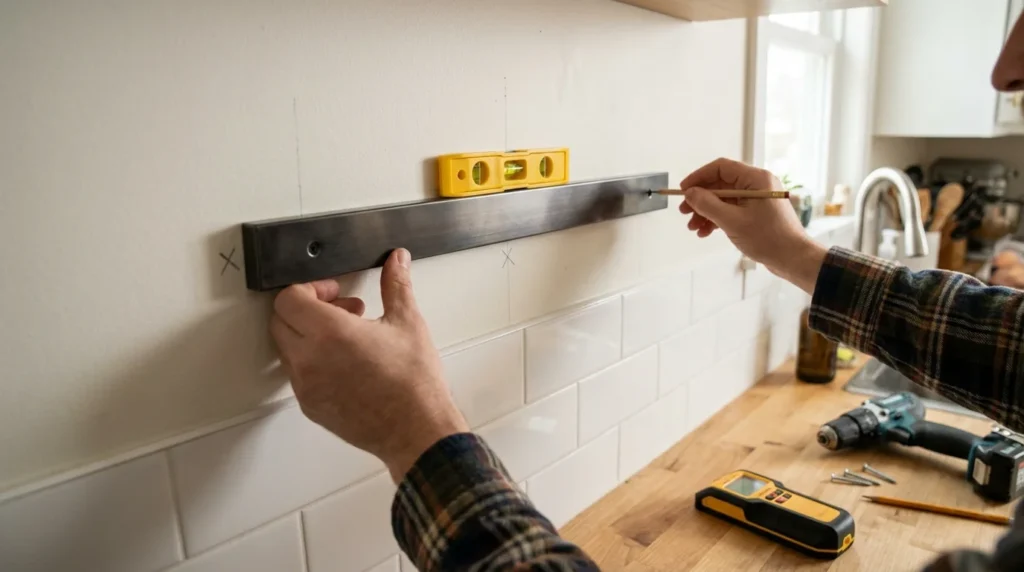
A magnetic strip holds knives and other metal tools flat against the wall at a height you choose. Holding strength is not standardized across brands, so look for a stated capacity on the product page and plan on stud mounting if you hang a full set. If the hole spacing on the strip matches your stud spacing, both screws can go into studs.
Installing a strip on drywall
1. Pick a spot within reach of your prep counter and above the height children can reach.
2. Find a stud with a stud finder and mark its center.
3. Hold the strip against the wall, check it with a level, and mark the screw holes.
4. Drill pilot holes. If a hole misses the stud, use a drywall anchor rated for the load.
5. Drive in the screws. The magnet is strong, so take care when screwing through a magnetic bar.
6. Add your knives one at a time and check that each one holds firmly.
On tile, many strips ship with double-sided mounting tape. The usual method is to apply the tape to the back of the strip, hold the strip level against the wall to mark its position, then press it on. Some products tell you to weigh the strip down, and others say to apply no weight for 24 hours, so follow the instructions that come with yours.
Pot Rack: Move Heavy Cookware Off the Cabinet Shelves

A pot rack takes your heaviest cookware out of the lower cabinets, and the mounting method matters more than the rack itself. Ceiling racks are normally fastened into ceiling joists. Enclume, a pot rack maker, recommends mounting directly into joists or beams and suggests asking a hardware store about options for drywall. Ceiling rack capacities in retail listings run from about 40 lb to 130 lb, so weigh your cookware before you buy. A bathroom scale works. Add up the pieces you plan to hang and keep the total under the rack’s rating.
Installing a ceiling rack
1. Check your ceiling height. One manufacturer suggests hanging a rack 18 inches below the ceiling when the ceiling is 96 inches (8 feet) high and the counter is 36 inches high, and 30 inches below the ceiling for a 108-inch (9-foot) ceiling.
2. Find the joists with a stud finder and mark their centers. Joist spacing varies, and 16 to 24 inches apart is common.
3. Position the rack’s brackets over the joists. If they do not line up, check the manual before using drywall anchors instead.
4. Fasten the brackets with the hardware supplied.
5. Hang the rack, set the chain or cable length, and check that it hangs level.
6. Hang the cookware and compare the total weight with the rack’s rating.
Choosing a wall-mounted rack
Wall rails vary widely, so read the listing. One 16-inch rail with S-hooks lists 15 lb with its included drywall anchors and 25 lb when screwed into studs. Another maker ships anchors with a pull rating of at least 20 lb each and advises mounting to a stud when possible. A third ships a heavy-duty anchor system and says studs are not required. Whatever the rack, follow its manual and choose a stud when the manual allows it.
Slim Rolling Cart: Use the Gap Beside the Fridge
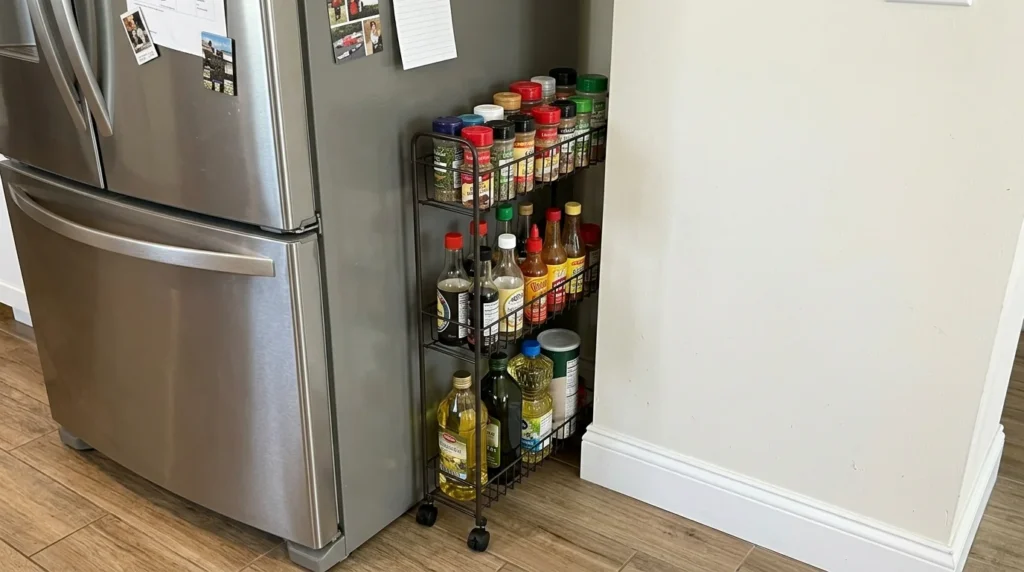
The narrowest slim carts in retail listings are about 5 to 6 inches deep, and that depth is what has to fit your gap. Other slim carts run closer to 10 inches. Capacity numbers are not comparable from one cart to the next: a six-tier metal cart listed at 6.1 inches deep gives 30 lb per shelf, while other listings give a single total for the whole cart. Check which one a listing means. One seller advises putting more weight on the lower shelves, and buyers of tall narrow carts report that they wobble when overloaded.
1. Measure the width of the gap at its narrowest point, and measure its height.
2. Open the refrigerator and any nearby cabinet doors to confirm a cart in the gap will not block them.
3. Pick a cart that is narrower than the gap so it rolls in and out without scraping.
4. Assemble the cart as instructed and tighten every fastener.
5. Roll it into the gap and lock the wheels if it has locks.
6. Load heavy items such as oil bottles and canned goods on the bottom shelves and light items such as spices on the upper shelves.
A gap beside the refrigerator is the simplest choice. If the gap is beside a range, read the range’s manual for side clearance first, because stored items would sit close to a heat source.
Adhesive Hooks: Use Walls and Doors Without Drilling
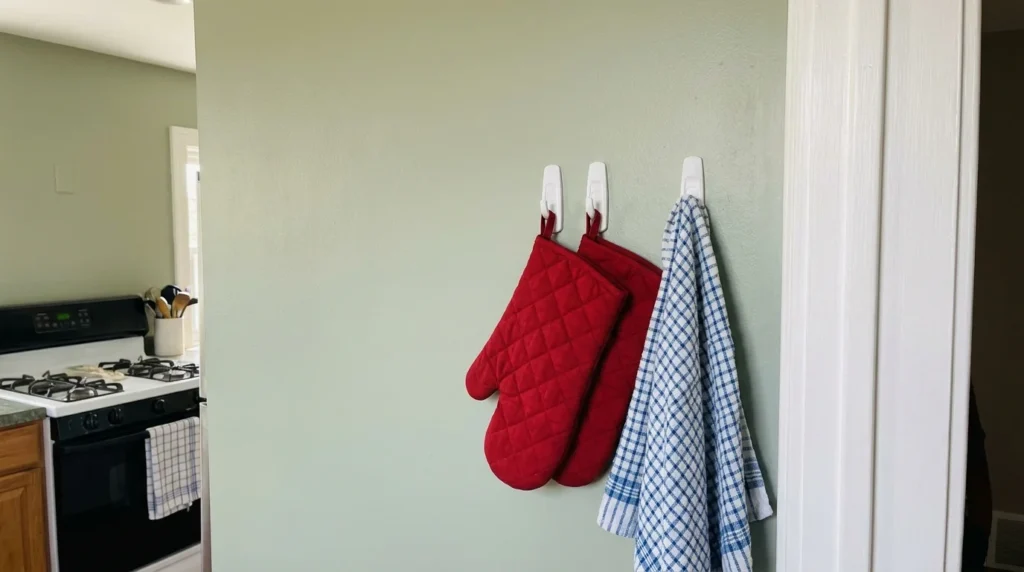
3M’s Command utility hooks come in sizes rated at 1 lb (small), 3 lb (medium), 5 lb (large), 7.5 lb (jumbo), and 15 lb (extra large) per hook, based on retailer listings of the product line. 3M’s instructions say to use only one hook per item hung, so you cannot add hooks together to carry a heavier load. Items like oven mitts, dish towels, and light utensils stay well under the lower ratings.
Surface and heat limits matter in a kitchen. 3M’s product information says the strips will not stick to dirty, dusty, or oily surfaces and should not be used with wallpaper. Its hook instructions also warn against textured surfaces, and the product sheet does not recommend bare wood or other porous, unpainted surfaces. Wait at least 7 days after painting, and apply the strips only above 50°F (10°C). The adhesive could lose hold above 105°F (40°C), so keep hooks away from the area right above the stove.
Applying a hook
1. Clean the spot with isopropyl rubbing alcohol, wipe gently, and let it dry. Do not use household cleaners.
2. Follow the pack’s directions to join the strip to the hook or base, then press it to the wall.
3. Press the hook or base firmly for 30 seconds.
4. Wait 1 hour before hanging anything on the hook.
5. To remove it, pull the strip’s tab straight down along the wall, stretching it slowly until it releases. Never pull the strip toward you.
The same rules apply on a door as long as the surface is painted or sealed, since the strips are not recommended for bare wood.
Keep Open Storage Tidy
Open storage shows mess right away, so a short routine helps. Return each item after use, take two minutes at the end of the day to check hooks and shelves, and keep heavy items low on carts and racks.
Where to Start
Match the method to the space you have. A gap beside the refrigerator points to a cart, a bare stretch of wall near the stove points to a knife strip or hooks, and a high ceiling over an island points to a pot rack. Measure first, check the rating, and finish one install before buying a second. For other rooms, see our small home storage ideas.
Frequently Asked Questions
How can I add kitchen storage without cabinets?
Use wall space for a knife strip, a rail, or hooks, hang a pot rack from the ceiling or a wall, and roll a slim cart into a gap beside the refrigerator. Each option above lists its weight limit and mounting steps.
How much weight can adhesive hooks hold?
Command utility hooks are rated from 1 lb to 15 lb per hook, depending on size. The rating is per hook, and 3M says to use one hook per item.
Do I need studs to hang a pot rack?
Ceiling racks go into ceiling joists. Wall racks differ by maker: one lists 15 lb in drywall anchors and 25 lb in studs, while another sells an anchor system it says does not need studs. Follow your rack’s manual and choose a stud when you can.
How far apart are wall studs?
Most are 16 inches apart from center to center, and some walls use 24 inches. Confirm each stud with a stud finder.
What works for renters?
Adhesive hooks and a slim rolling cart need no drilling. A magnetic strip with mounting tape can also avoid screws on tile. Check each product’s instructions and your lease first.
Where the Numbers Come From
This guide is based on manufacturer instructions and retail listings reviewed in October 2026, not hands-on testing. Ratings and prices change, so check the product page before you buy.
3M Command adhesive product information sheet
Command utility hook size and weight listings (Quill)
Bob Vila: how to find a wall stud
Knifewear: how to install magnetic knife racks on drywall and tile
Williams Sonoma magnetic knife bar mounting instructions
Belfry ceiling pot rack listing (Wayfair)
Wallniture Cucina 16-inch rail
Concept Housewares wall pot rack instructions (Lowe’s)




Leave a Reply