

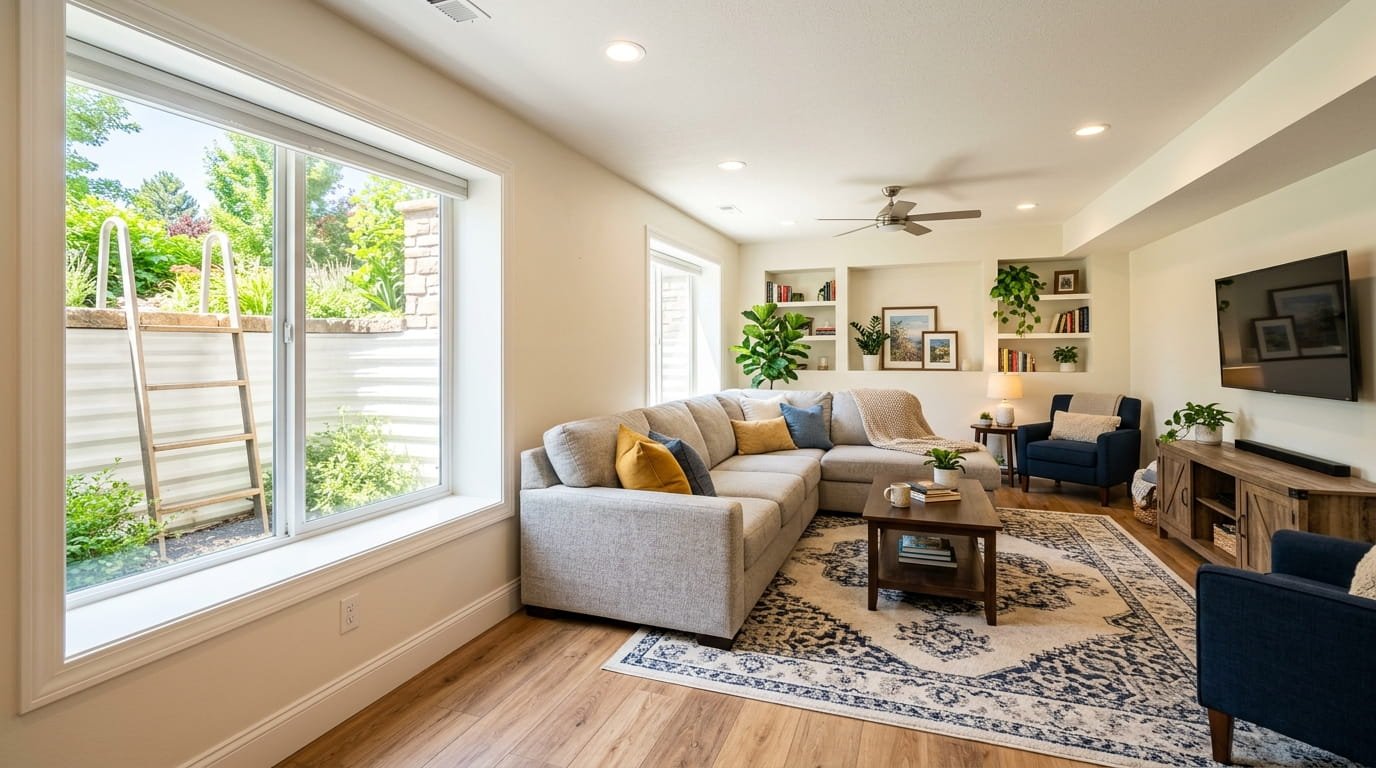
Finishing a basement can add valuable living space and increase your home’s value, but it is also one of the riskiest DIY projects you can take on. Unlike above-grade renovations, basements deal with moisture, strict building codes, limited ceiling height, and unique structural challenges. When something goes wrong, the repairs are rarely cheap.
Many homeowners start with good intentions and still end up spending thousands of dollars fixing mistakes that could have been avoided. The good news is that most of these costly errors are easy to prevent with the right planning and knowledge. This guide walks through the most expensive diy basement finishing mistakes, explains why they become so costly, and shows you exactly how to avoid them.
Mistake 1: Skipping Moisture Testing Before Framing
What homeowners commonly do wrong
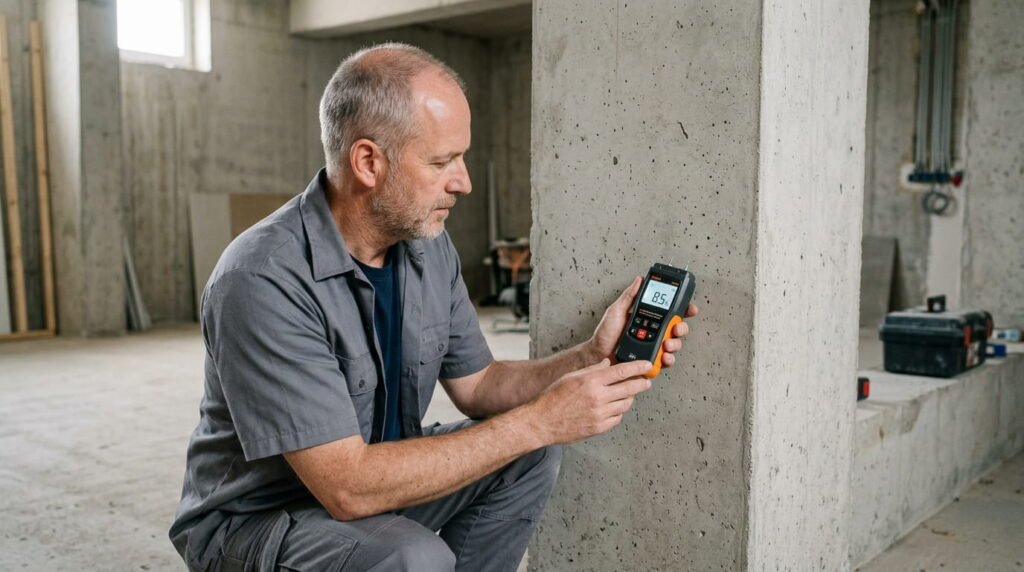
They assume the basement is dry because they do not see standing water or obvious damp spots, then move straight into framing and insulation.
Why it becomes expensive
Hidden moisture can lead to mold growth inside wall cavities, ruined insulation, damaged drywall, and flooring failure. Removing mold and rebuilding the affected areas often costs several thousand dollars.
How to avoid it
Test the space properly before any framing begins. Use a moisture meter on the concrete walls and floor, watch for condensation, and consider a professional moisture assessment if the basement has any history of dampness. Address water intrusion, improve drainage, and install a vapor barrier system before you close up the walls.
Mistake 2: Framing Directly Against Concrete Walls
What homeowners commonly do wrong
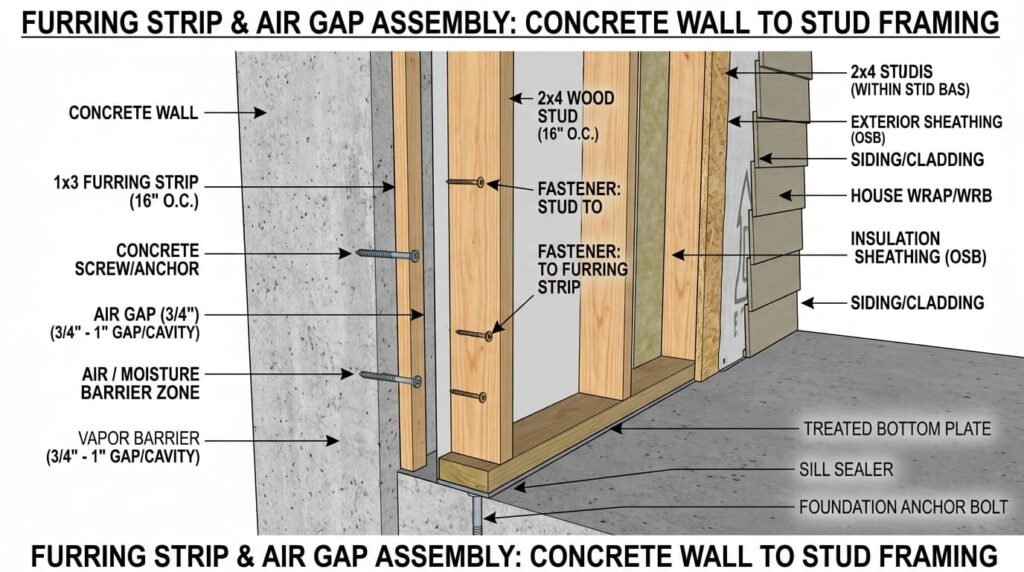
They stand wood studs tight against the concrete foundation walls to save space or simplify the build.
Why it becomes expensive
Concrete wicks moisture. When wood sits directly against it, the framing can absorb dampness, leading to rot, mold, and the need to tear out and rebuild the wall. These repairs can easily run into the thousands of dollars.
How to avoid it
Leave a small gap or use treated bottom plates and proper furring methods. Install a continuous vapor barrier or rigid foam insulation against the concrete first, then frame in front of it so the wood stays dry and air can still move behind it.
Mistake 3: Ignoring Egress Window and Ceiling Height Requirements
What homeowners commonly do wrong
They finish bedrooms or living areas without confirming local egress rules or minimum ceiling heights.
Why it becomes expensive
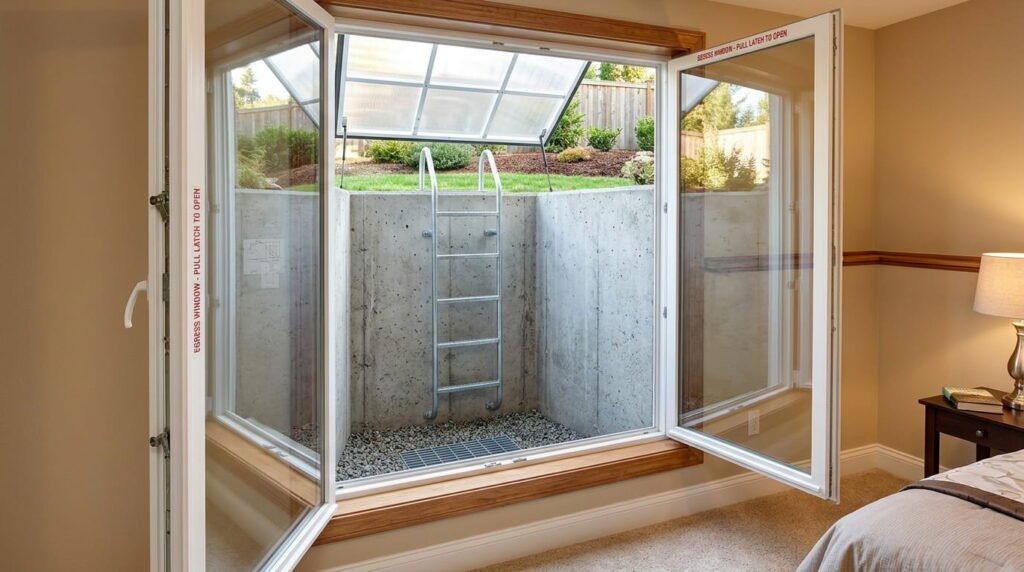
A failed inspection can force you to add an egress window later or redesign the layout. Cutting in a proper egress window well after the fact is one of the most expensive fixes on this list once excavation, the window, the window well, and finishing work are all included.
How to avoid it
Research your local building code before you design the layout. Confirm the required ceiling height, often seven feet in habitable spaces, and the egress window specifications for any sleeping areas. Plan window locations early so they are part of the original design instead of a painful retrofit.
Mistake 4: Undersizing Electrical Circuits for Future Needs
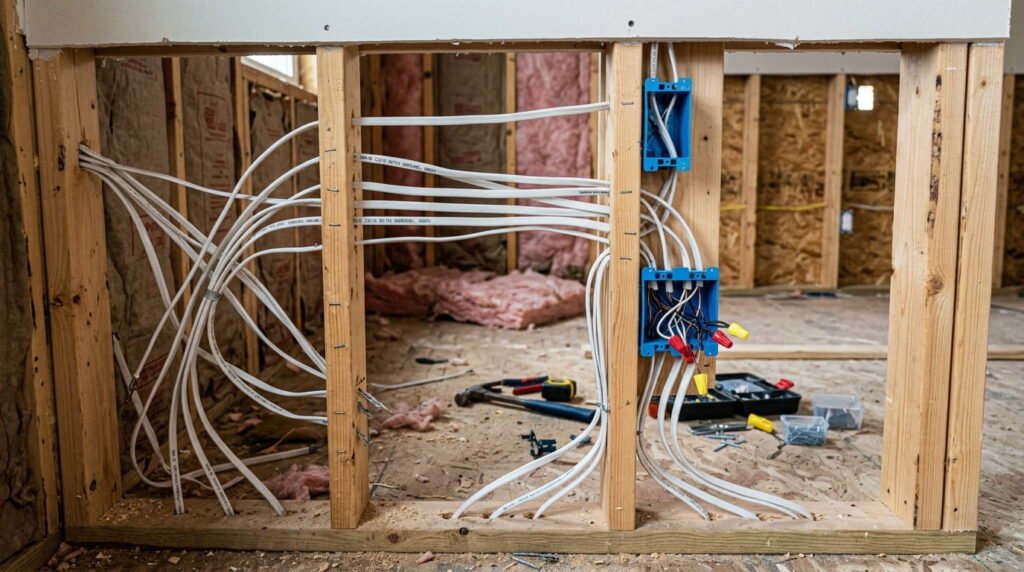
What homeowners commonly do wrong
They install the bare minimum outlets and circuits based on their current plans, without considering how the space might be used later.
Why it becomes expensive
Adding circuits after the walls are closed means cutting drywall, fishing new wires, and patching everything back up. This work adds up quickly, often costing several thousand dollars depending on how many circuits are needed.
How to avoid it
Plan for more capacity than you think you need. Include dedicated circuits for possible future uses such as a home office, gym equipment, a wet bar, extra lighting, or a laundry area. It is far cheaper to run extra wiring while the walls are still open than to add it later.
Mistake 5: Choosing the Wrong Insulation for Below-Grade Spaces
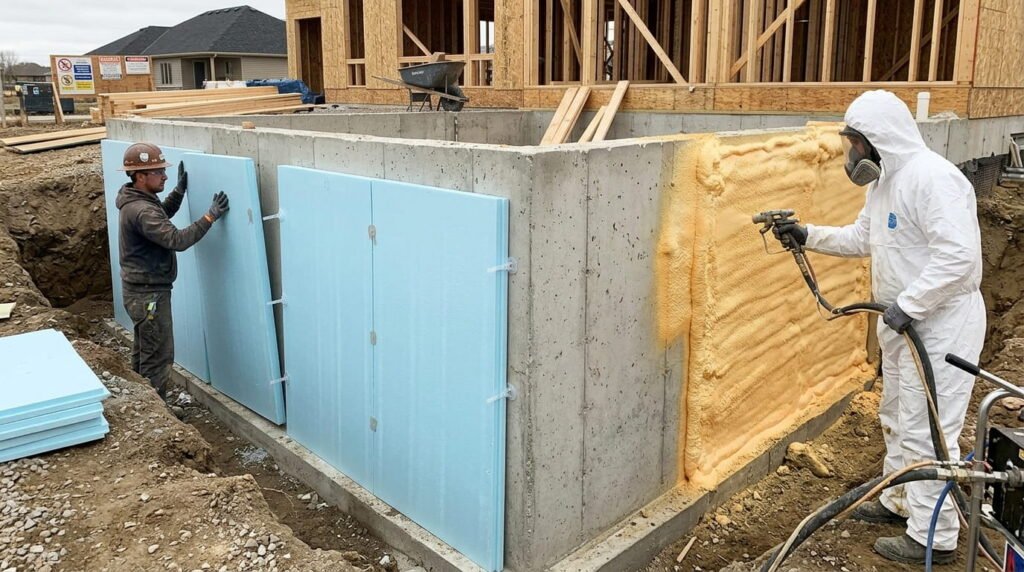
What homeowners commonly do wrong
They use standard fiberglass batts against concrete walls the same way they would in an above-grade exterior wall.
Why it becomes expensive
The wrong insulation can trap moisture, create condensation, and lead to mold. Removing and replacing insulation, along with any damaged materials around it, can cost thousands of dollars.
How to avoid it
Use insulation rated for below-grade conditions. Closed-cell spray foam or rigid foam board against the concrete, combined with proper vapor control, performs far better than standard batts alone. Follow local code and manufacturer guidelines for below-grade applications.
Mistake 6: Overlooking HVAC and Airflow Considerations
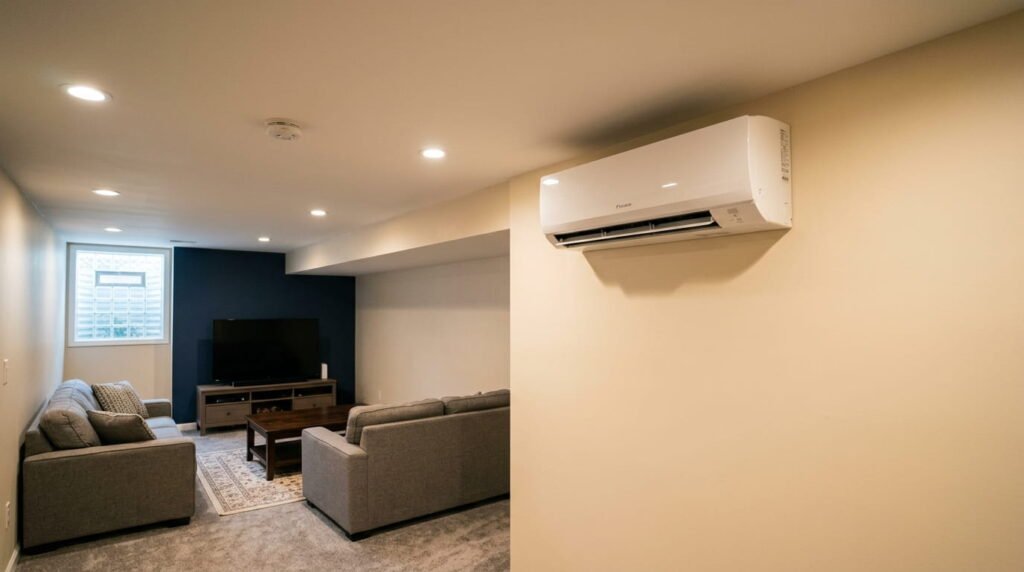
What homeowners commonly do wrong
They finish the basement without extending the heating and cooling system or planning for enough air circulation.
Why it becomes expensive
Poor temperature control and humidity problems can mean adding ductwork, a mini-split system, or dehumidification equipment later. These upgrades commonly cost several thousand dollars.
How to avoid it
Evaluate your existing HVAC capacity early. Plan your supply and return air paths, and consider a dedicated dehumidifier if moisture is a concern. Proper airflow protects both your comfort and the long-term health of the finished space.
Mistake 7: Pulling Permits After Work Has Started (or Skipping Them)
What homeowners commonly do wrong
They begin framing or finishing work and only apply for permits once the project is already underway, or they skip permits entirely.
Why it becomes expensive
Stop-work orders, fines, required tear-outs, and complications at resale can easily add up to thousands of dollars. Unpermitted work can also create insurance and liability issues.
How to avoid it
Check with your local building department before you start. Ask what permits are required for your specific scope of work and submit your applications early. Legal, inspected work protects your investment and makes future sales much smoother.
Mistake 8: Using the Wrong Flooring for a Below-Grade Environment
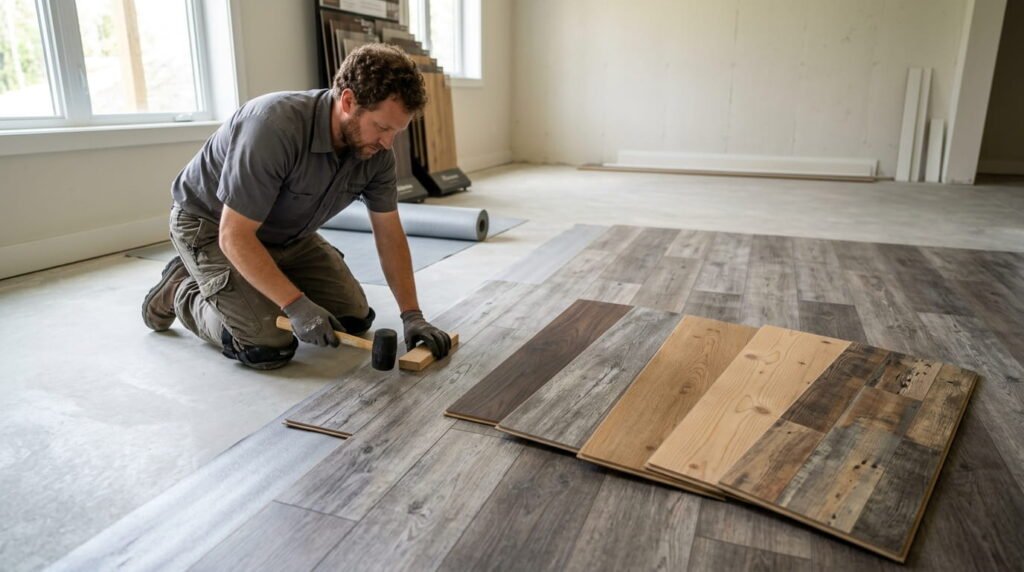
What homeowners commonly do wrong
They install moisture-sensitive materials such as standard hardwood or low-quality laminate directly over a concrete slab.
Why it becomes expensive
Buckling, cupping, mold growth underneath, and a full flooring replacement can easily cost thousands of dollars.
How to avoid it
Choose flooring designed for below-grade use. Luxury vinyl plank, rigid core vinyl, tile, and certain engineered products rated for concrete slabs perform far better. Always follow the manufacturer’s requirements for moisture testing and underlayment.
Mistake 9: Neglecting Proper Vapor Barriers and Sealing Details
What homeowners commonly do wrong
They treat vapor control as an afterthought or install barriers incorrectly, leaving gaps and unsealed penetrations.
Why it becomes expensive
Moisture that sneaks into wall cavities can cause hidden damage that only becomes visible months or years later, and by then the repairs often cost thousands of dollars.
How to avoid it
Install a continuous vapor barrier system according to best practices for your climate and local code. Seal every seam, penetration, and transition area carefully, and pay special attention to the connection between the walls and the floor.
Red Flag Checklist: Warning Signs You’re About to Make an Expensive Mistake
Use this quick checklist before you begin framing:
- Have you tested the concrete for moisture?
- Is there a clear plan for vapor control and insulation against the foundation walls?
- Do you know your local egress and ceiling height requirements?
- Have you planned electrical capacity for future needs?
- Is HVAC or supplemental heating and cooling addressed?
- Are permits applied for and understood?
- Have you selected flooring rated for below-grade use?
- Are you leaving a gap or proper assembly between the framing and the concrete?
- Do you have a plan for humidity control after the space is finished?
If you answer no to several of these, pause and resolve the issues before moving forward.
For a broader look at avoidable missteps around the house, see our guide to common home organization mistakes.
When You Should Hire a Professional Instead of DIY
Some parts of diy basement finishing are reasonable for experienced homeowners. Others carry more risk. Consider hiring a professional for:
- Major moisture or waterproofing systems
- Electrical panels, new circuits, or complex wiring
- Egress window installation that requires excavation
- Structural changes or load-bearing modifications
- HVAC modifications
A hybrid approach works well for many people: handle the framing, insulation, drywall, and finishing yourself, and leave the critical systems to licensed trades. This balances cost savings with risk reduction.
Conclusion
Most of the expensive problems in diy basement finishing come from rushing the planning stage or underestimating the unique challenges of a below-grade space. Moisture, codes, insulation choices, and future capacity are not details you can fix easily once the walls are closed.
Slow down at the start. Test for moisture, understand your local requirements, plan for the right assemblies, and build in extra electrical and HVAC capacity. These steps protect both your budget and the long-term performance of the space.
A well-finished basement can become one of the most enjoyable and valuable areas of your home. Avoiding the mistakes in this guide gives you a much better chance of ending up with a result you are proud of, instead of a costly list of repairs.
Have you run into any of these issues in your own project, or do you have questions about a specific step? Share your experience in the comments so other readers can learn from it too.




Leave a Reply