

A Disorganized Pantry Is a Money Problem Wearing a Clutter Disguise
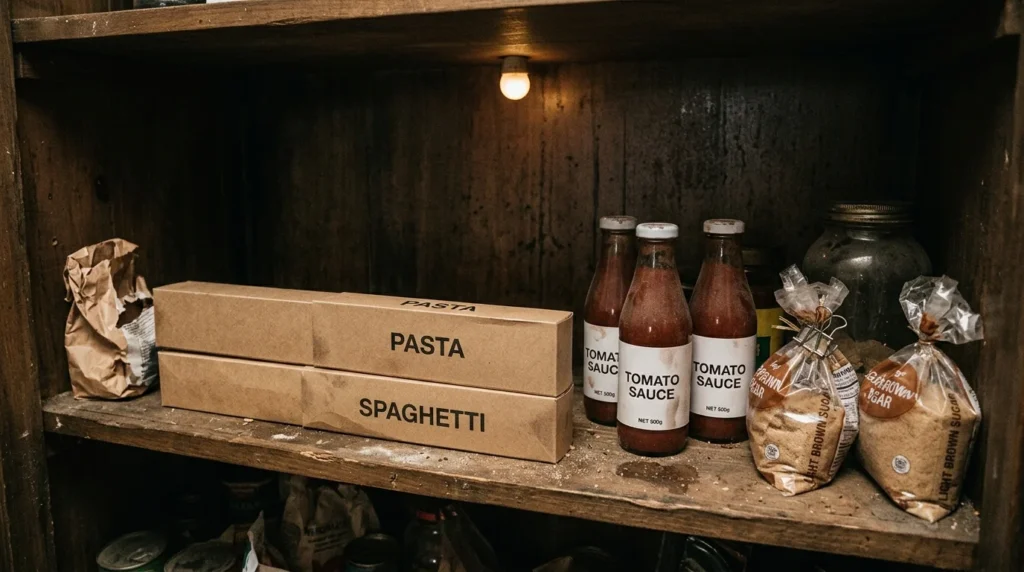
A can goes missing behind two boxes of pasta. A snack request turns into a two-minute search. An expired jar surfaces nine months after it should have been tossed. None of that is really about mess. It’s food and money sitting somewhere you can’t see them.
Fixing it doesn’t take a renovation, a label maker, or a matching set of glass canisters. A pantry system that actually holds up costs under $40 to set up, and most of that gets paid back in the first few weeks through less wasted food and fewer duplicate groceries. Here’s how to build it.
Why an Organized Pantry Pays for Itself
The EPA’s most recent estimate puts the cost of food waste for a household of four at roughly $2,900 a year, up sharply from the $1,500 figure that’s been cited since 2014 as grocery prices have climbed (EPA / BioCycle, 2025). A meaningful share of that happens in the pantry, in three specific ways:
- Expired waste. Jars and boxes bought for one recipe, pushed to the back row, found again only after they’ve gone past their date.
- Duplicate purchases. Three bottles of soy sauce and two bags of brown sugar aren’t intentional. They happen because the shelf didn’t show what was already there.
- Meal-planning drift. Without visibility, “I’ll figure it out at the store” replaces “we already have everything for taco night.”
None of this takes willpower to fix. It’s solved by the pantry itself showing you what’s in it.
The Complete Shopping List — Under $40
| Item | Approximate Cost |
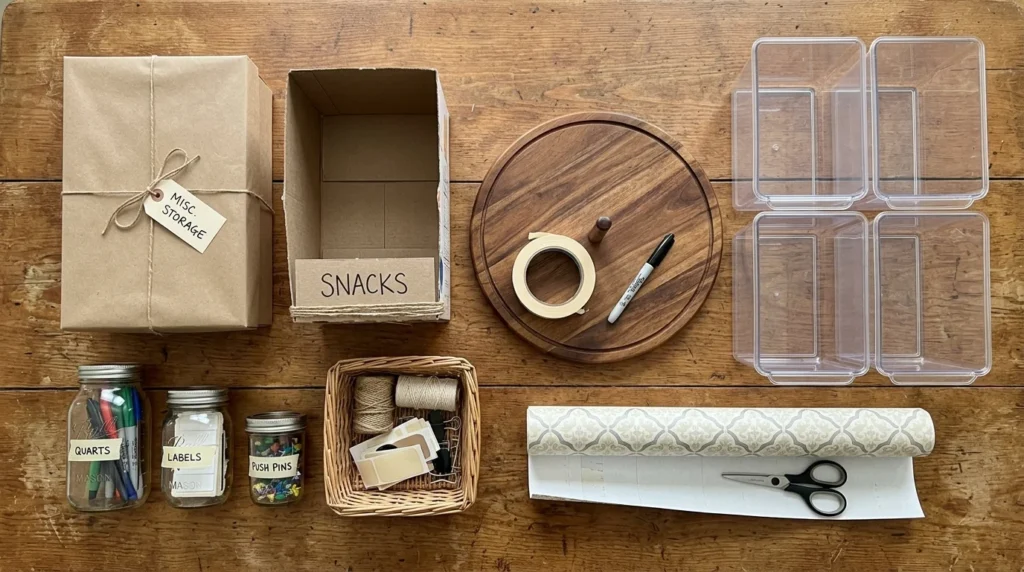
| Clear stackable open bins (set of 6) | 12–18 |
| Lazy Susan turntable (1–2) | 8–16 |
| Masking tape + permanent marker (labels) | 2–4 |
| Shelf liner (optional) | 5–8 |
| Repurposed baskets, boxes, jars from home | Free |
| Total | 27–46 |
Deliberately not on this list: matching glass canisters, a label maker, or coordinated bin sets in five sizes. Those photograph well. They aren’t what makes a pantry functional. Visibility, categories, and consistency are, and all three fit under $40. Buying matching containers first is one of the home organization mistakes that quietly derails pantry projects.
Empty It, Clean It, Sort It: In That Order
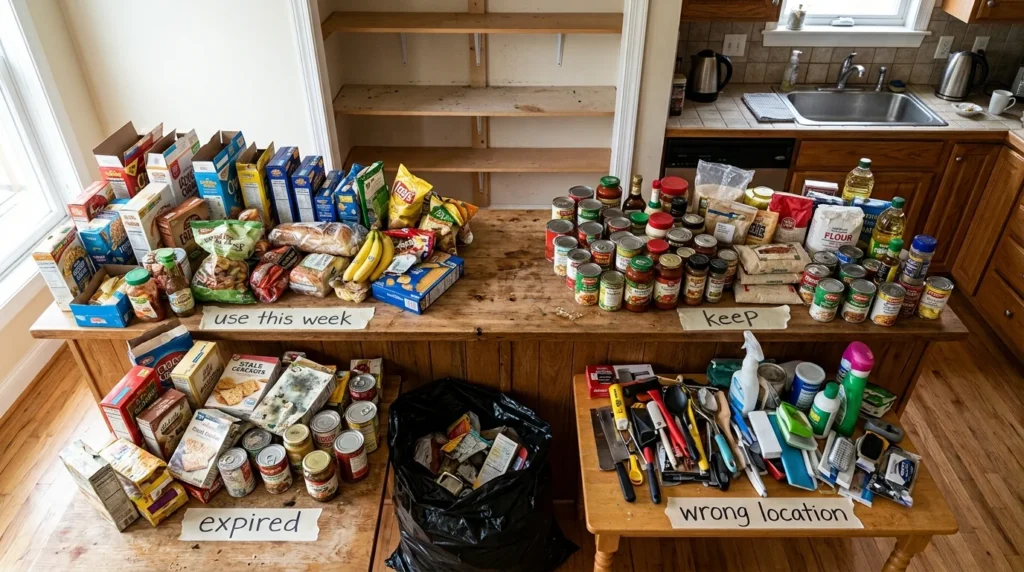
Empty everything at once. Every shelf, onto the counter or table. This is the step that surfaces the real inventory: the duplicates, the expired jars, the things nobody remembers buying. Sort into four piles as you go (use this week, keep, expired, wrong location) and throw out the expired pile immediately, not later. If the rest of the kitchen needs the same treatment, declutter your home fast.
Wipe every shelf. A few minutes with a damp cloth while the pantry’s empty. A clean shelf is a small thing, but it’s also what makes the new system feel worth maintaining.
Group before anything goes back. Sort what’s left into categories before a single item returns to a shelf: grains and pasta, canned goods, baking supplies, snacks, breakfast, sauces and oils, spices, and pet supplies if they live in the pantry too. Some households prefer meal-based zones instead, like a taco-night shelf or a soup-and-grain shelf. Either works. What matters is picking one and sticking to it. For the whole-house version of this sort, follow our step-by-step home organization guide.
Assign Shelves by How Often You Reach for Them
This is where most pantry attempts quietly fail: items go back wherever they fit, not where they’re actually used.
- Eye level: daily snacks, current dinner staples, cereal: anything reached for four or more times a week.
- Below eye level: canned goods, pasta, sauces: the staples behind a few meals a week.
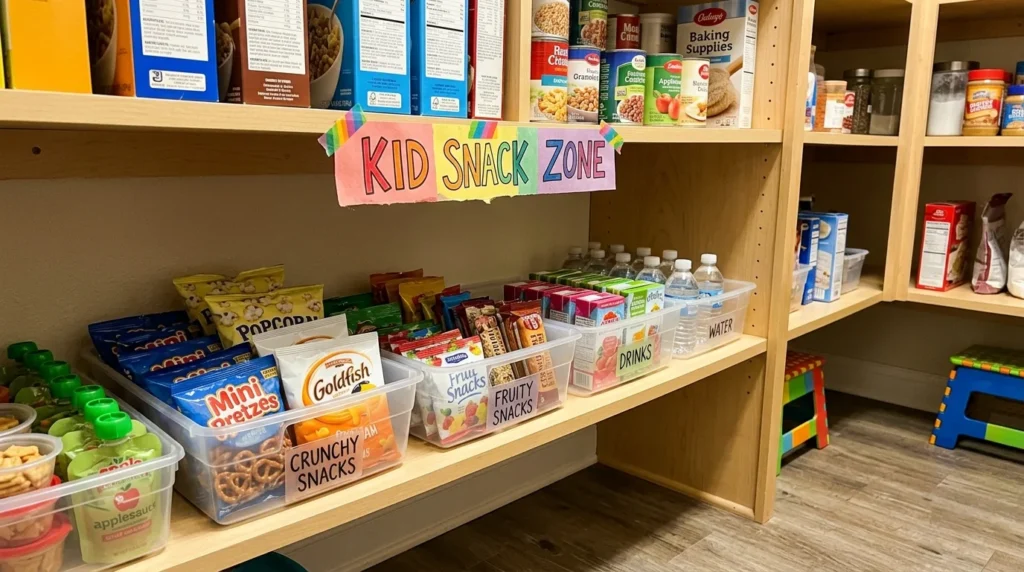
- Lowest shelf: heavy bags of rice, flour, and oil, for safety and easy lifting, plus the kid-accessible snack zone (more below).
- Highest shelf: holiday baking supplies, specialty ingredients, backup stock: things touched a few times a year, not a few times a week.
Budget Organizers and Free Alternatives
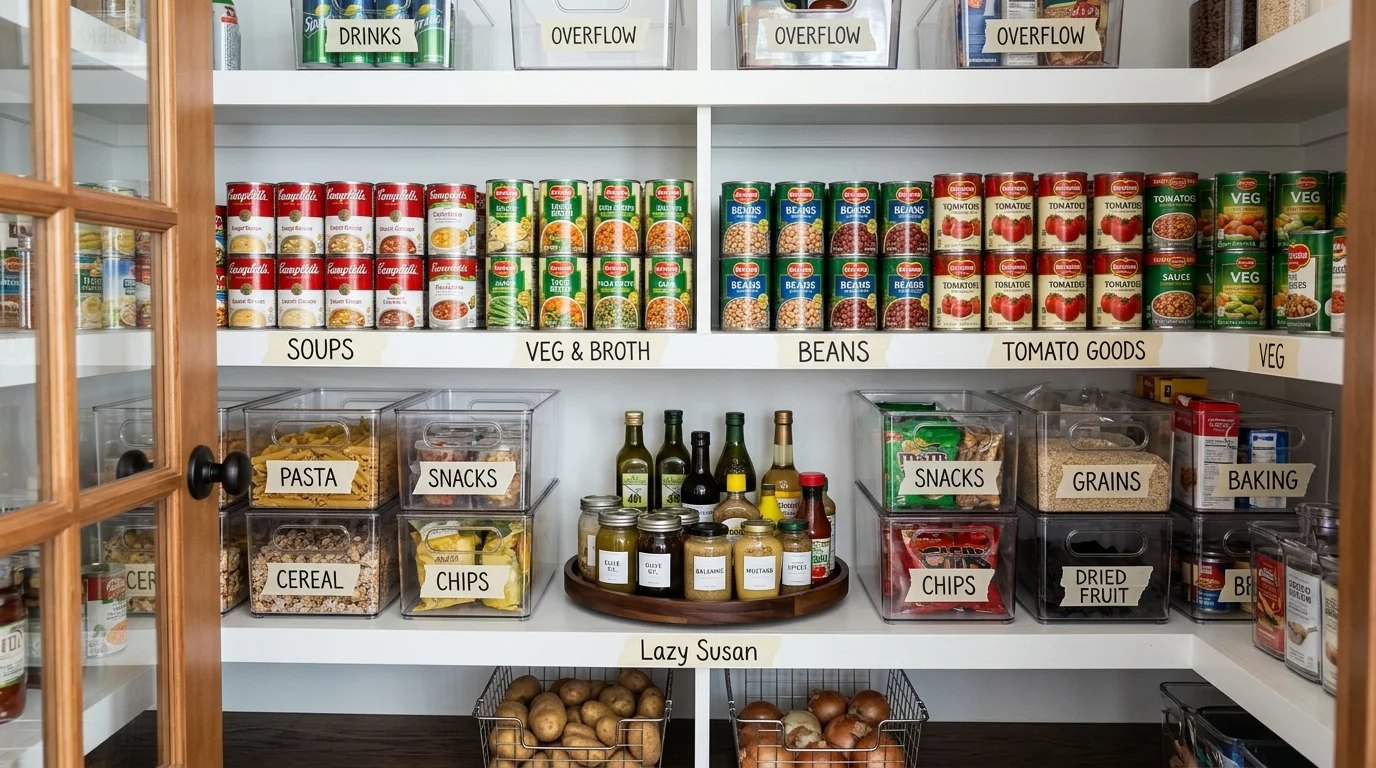
Clear, open-front bins (2–4 each at most discount stores) are the single highest-impact purchase here. One bin per category: an empty one signals a restock before you run out mid-recipe; an overflowing one signals it’s time to rotate stock forward.
A lazy Susan (8–12) on the spice shelf or the canned-goods shelf solves the buried-in-the-back problem with one spin.
Free, already in the house:
- Shoeboxes wrapped in paper, as sturdy bin stand-ins for dry goods
- Cereal boxes cut down to about 4 inches, as corrals for snack bars and anything that rolls
- Mason jars, for bulk dry goods and baking staples
- Any basket from elsewhere in the house, for bread or shelf-stable produce
A Fixed Snack Zone Changes the Daily Routine
One specific move matters more than the rest combined: a clearly bounded snack zone, at a height kids can reach on their own, stocked with items they’re allowed to grab without asking.
The boundary is what makes it work. When the bin’s empty, it stays empty until the next grocery trip. Nothing from elsewhere in the pantry migrates in to refill it, and snack items don’t wander onto other shelves. Kids 10 and up can usually take over monitoring the bin and adding refills to the grocery list themselves, which is both one less thing for an adult to track and a genuinely useful habit for them to build.
Visibility Habits That Do Most of the Work
Clear bins, always. Opaque ones look tidier in photos; clear ones tell you what’s inside and how much is left without opening anything. That’s the difference that matters during a school-morning rush.
Label the shelf, not just the bin. A bin label says what’s inside it. A shelf label says where it goes back, which still works even when the bin itself is out on the counter.
Face labels forward. Three extra seconds per item when putting groceries away, and it removes almost all of the “what is this?” pauses later.
Keep one “use soon” spot (front-left of a middle shelf works well) for anything nearing its date or any open package that should get finished before a new one’s opened. It turns “what needs using up” into something the pantry shows you automatically.
FIFO: The Habit That Prevents Most of the Waste
First in, first out: the same principle every grocery store and commercial kitchen runs on. New items go to the back of their category; older ones move to the front. It costs about 30 seconds per grocery trip and pays for itself every time you reach for whatever’s already closest to its date.
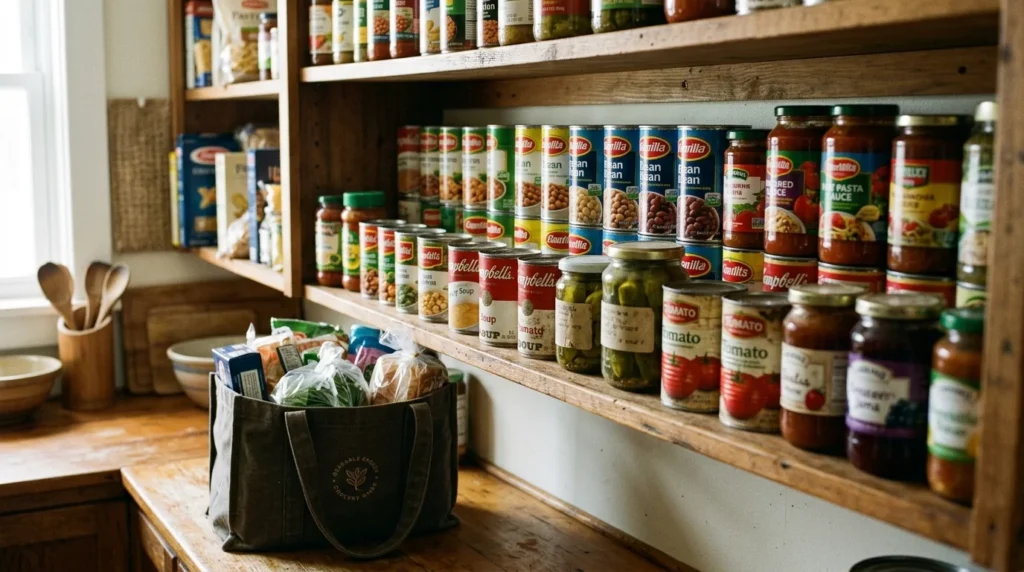
Two routines make it stick: a monthly five-minute scan for anything approaching its date (move it to the use-soon spot, plan one meal around it), and a once-a-year check (early fall works well) on baking staples specifically, since baking powder, yeast, and many spices lose potency faster than most people expect.
Keeping It Working With Kids in the House
A system that depends on every item going back exactly right won’t survive a family. A simpler one, with clear physical boundaries, will.
The snack zone is the one area kids manage independently; everything else gets adult help for now. Kids 8 and up can help put groceries away using the categories they already recognize from the labels, which is genuinely useful, not just busywork. And a ten-minute monthly reset is enough to bring the whole system back to baseline after normal drift, done together rather than by one person alone.
Frequently Asked Questions
How much does it really cost to organize a pantry on a budget?
A full setup (bins, a lazy Susan, labels, optional shelf liner) runs $27 to $46. Repurposing containers already in the house brings that lower.
What’s the single most effective change?
Clear, open-front bins with one category per bin. They make inventory visible at a glance, which is what prevents both expired food and duplicate purchases.
Will this system survive kids getting into the pantry?
Yes, with one adjustment: give kids a single, clearly bounded snack zone they manage themselves, and keep everything else as an adult-assisted area until they’re old enough to help with the rest.
How often does the system need maintenance?
About ten minutes a month for a full reset, plus 30 seconds of rotating stock forward each time groceries get put away.
Start the Reset
The payoff compounds fast: less waste, fewer duplicate purchases, and a few fewer minutes of searching every time dinner starts. Work through the checklist below over a weekend, and the pantry starts working for the household instead of against it.
- Empty everything and discard anything expired
- Wipe down every shelf
- Sort into categories before anything goes back
- Assign shelves by frequency of use
- Add clear, labeled bins per category
- Add a lazy Susan to the spice and canned-goods shelves
- Set up a bounded kid snack zone
- Label shelves and face every item forward
- Put a monthly five-minute expiration check on the calendar




Leave a Reply