

You do not need a massive budget or months of construction noise to make your home feel brand new. Tackle targeted DIY projects to increase home appraisal value in a single weekend to boost both your everyday comfort and your home’s resale appeal without overspending. The difference between projects that drag on for weeks and ones that actually get finished often comes down to choosing high-impact work instead of high-effort work.
This guide focuses on practical diy home improvement projects that most homeowners can complete in under 48 hours using basic tools and a budget under $200. Each idea prioritizes visible transformation, improved function, or both, without requiring advanced skills or specialized equipment.
Planning Your Weekend DIY Sprint
A successful weekend project starts on Friday evening. Use that time to gather materials, charge tool batteries, clear the work area, and protect floors and furniture. Having everything ready prevents the common trap of multiple hardware-store runs that eat up your Saturday.
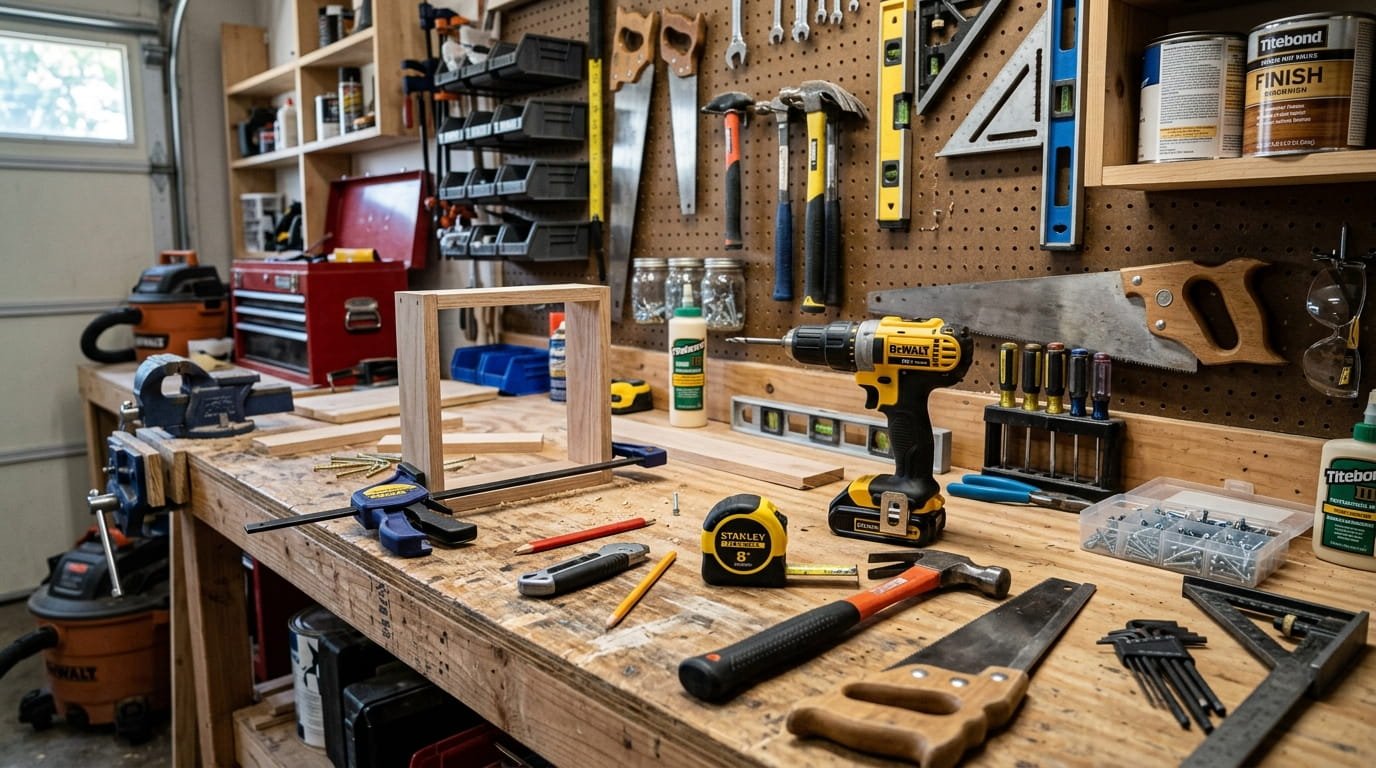
Essential basic tool kit for these projects includes:
- Safety glasses and work gloves
- Tape measure and pencil
- Level (a digital one is helpful but not required)
- Cordless drill/driver with common bits
- Painter’s tape
- Screwdrivers and a stud finder
- Drop cloths or old sheets
Most of these items are already in a typical home toolkit. If you are missing a cordless drill, it is the one tool worth owning for almost any diy home improvement work.
The 10 Weekend DIY Home Improvement Projects
Here are ten high-impact projects ranked by a balance of visual payoff, realistic timing, and accessibility for beginners and intermediate DIYers.
1. Modernize Kitchen or Bathroom Cabinet Hardware
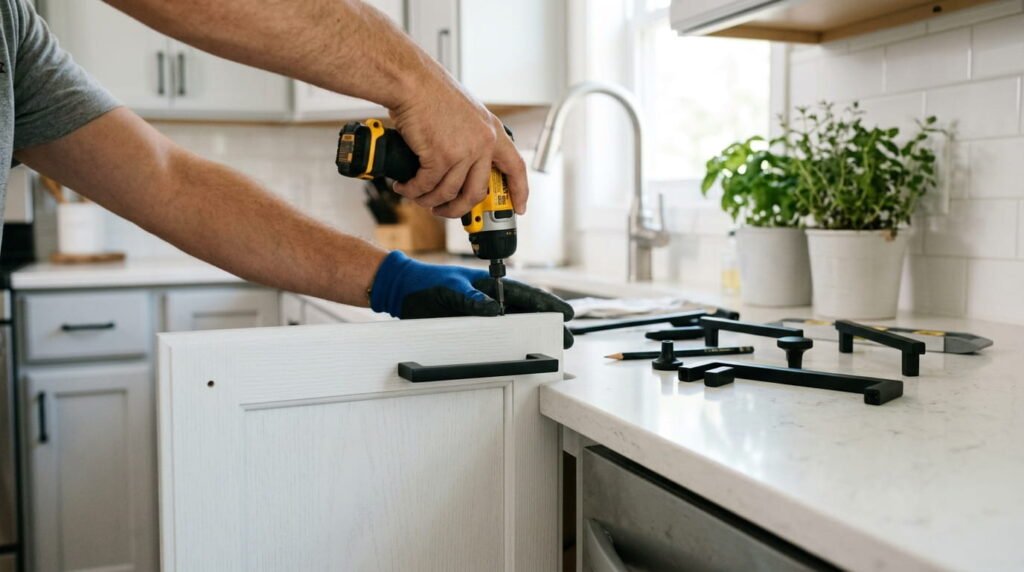
Time: 2–3 hours | Est. Cost: $30–$80 | Skill Level: Beginner
Outdated brass or builder-grade knobs instantly age a kitchen or bathroom. Replacing them with modern matte black, brushed nickel, or clean bar pulls creates a fresh, custom look with minimal effort. Remove the old hardware, fill any unwanted holes if the new pulls use a different spacing, and install the new pieces. Combining basic hardware updates with clever budget-friendly cabinet hacks makes builder-grade vanities look entirely high-end. This single change often makes cabinets look newly painted.
2. Install an Accent Board and Batten Wall
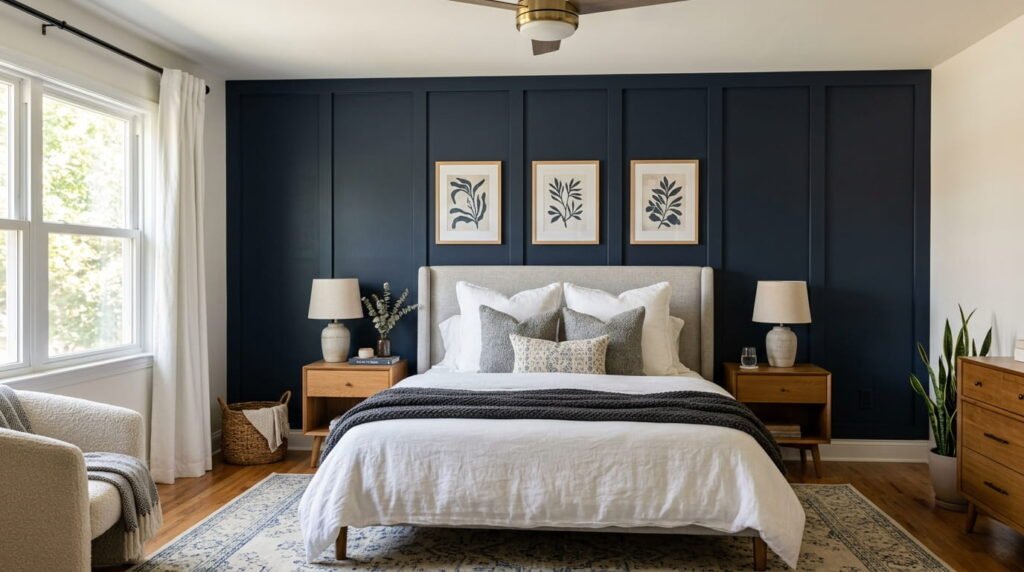
Time: 6–8 hours | Est. Cost: $100–$150 | Skill Level: Intermediate
Board and batten adds architectural interest and makes a room feel more expensive. Use pre-primed lattice or 1×2 boards, measure carefully, and attach them to the wall with construction adhesive and finishing nails. Caulking the seams and patching nail holes should come before you paint.. Focus on one accent wall to keep the project manageable within a weekend. First-timers should allow a little extra time for precise measuring and cutting.
3. Swap Out Dated Lighting Fixtures
Time: 2–4 hours | Est. Cost: $50–$150 | Skill Level: Beginner to Intermediate
Builder-grade flush mounts and basic ceiling lights are among the fastest ways to date a room. Replacing them with modern pendants, semi-flush mounts, or cleaner flush fixtures transforms the space immediately. Always turn off power at the breaker, take a photo of the existing wiring before disconnecting, and follow the new fixture’s instructions. If you are uncomfortable with electrical work, stick to simple swap-outs or consult a professional.
4. Apply a Peel-and-Stick Tile Backsplash
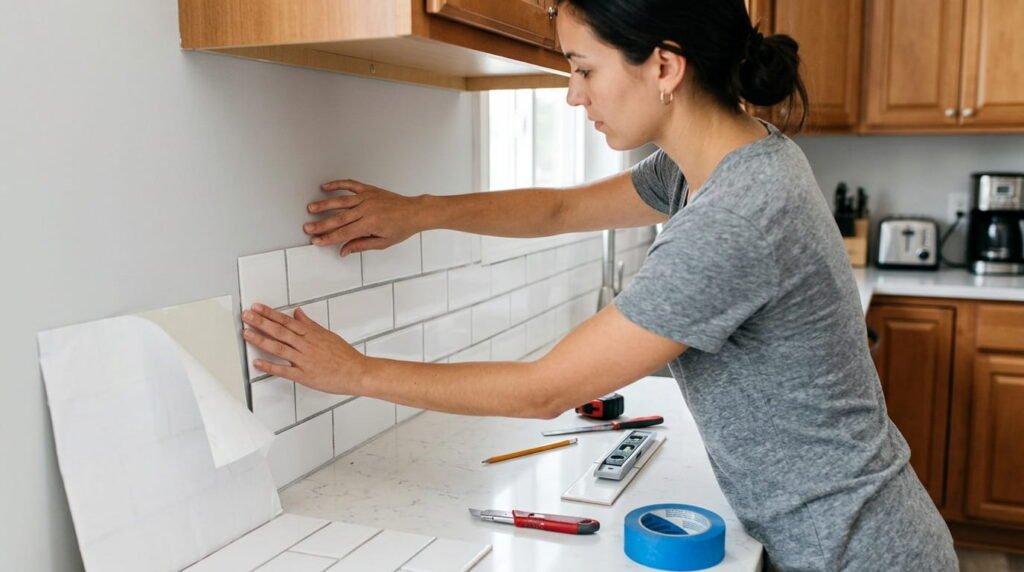
Time: 4–6 hours | Est. Cost: $60–$120 | Skill Level: Beginner
Peel-and-stick tiles deliver the look of a real tiled backsplash without mortar, grout, or wet saws. Clean the wall thoroughly, plan your layout starting from the center or a focal point, and apply the tiles firmly. Most products are removable, making them ideal for renters or anyone who wants flexibility. Proper surface prep is the key to a clean, long-lasting result.
5. Refresh Bathroom Vanities with Frame & Mirror Kits
Time: 2–3 hours | Est. Cost: $40–$70 | Skill Level: Beginner
Plain builder mirrors look unfinished. Adding a simple wood frame kit or building a basic frame from trim instantly elevates the vanity area. Many ready-made kits attach with adhesive or clips. Paint or stain the frame to match your bathroom hardware for a cohesive, custom appearance.
6. Elevate Curb Appeal by Painting the Front Door
Time: 4–5 hours | Est. Cost: $30–$50 | Skill Level: Beginner
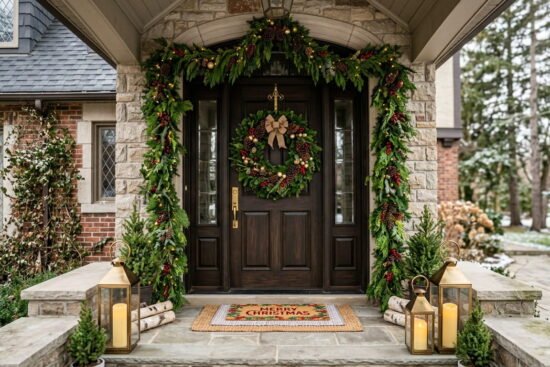
A freshly painted front door is one of the highest-return exterior updates you can make. Choose a bold yet welcoming color, remove or tape off hardware, clean the surface well, and apply exterior-grade paint with proper priming if needed. Anyone driving or walking by will notice the change immediately.
7. Install Floating Shelves for Functional Storage
Time: 3–4 hours | Est. Cost: $40–$90 | Skill Level: Beginner
Empty walls waste potential storage and display space. Floating shelves bring together practicality and good looks. Locate studs, install the hidden brackets securely, and level the shelves carefully. Use them in kitchens, bathrooms, living rooms, or hallways for books, plants, or everyday items.
8. Upgrade to a Smart Thermostat
Time: 2–3 hours | Est. Cost: $120–$180 | Skill Level: Beginner
A smart thermostat improves comfort and can lower energy bills through better scheduling and remote control. Most modern units are designed for straightforward DIY installation. Turn off power, label the existing wires, follow the app-guided setup, and connect to Wi-Fi. This project delivers ongoing functional benefits beyond pure aesthetics.
9. Regrout or Paint Tile Grout Lines
Time: 3–5 hours | Est. Cost: $20–$40 | Skill Level: Beginner
Stained or discolored grout makes even clean tiles look dirty. Grout pens, grout paint, or a full regrout of small areas can brighten floors, showers, or backsplashes dramatically. Clean the existing grout thoroughly first for the best adhesion and color results.
10. Add Under-Cabinet LED Strip Lighting
Time: 1–2 hours | Est. Cost: $25–$50 | Skill Level: Beginner
Under-cabinet lighting improves both task visibility and atmosphere in the kitchen. Plug-in or battery-powered LED strip kits require no hardwiring. Clean the surface, measure and cut the strips to length, and stick them in place. Many kits include dimmers or remote controls for added convenience.
Pro-Level Secrets for Finishing Projects on Schedule
Focus on one room or one clear zone at a time. Trying to improve multiple spaces in the same weekend often leads to unfinished work and frustration.
Batch your prep work. While paint or adhesive dries, move on to measuring, cutting, or cleaning the next section. Keep a simple checklist and resist the urge to expand the scope mid-project. Clear goals and prepared materials are the real secrets to finishing strong by Sunday evening.
Frequently Asked Questions
Which DIY home improvement project gives the highest return on investment?
Simple, highly visible upgrades such as painting the front door, updating cabinet hardware, swapping lighting fixtures, and refreshing mirrors or backsplashes typically deliver the strongest visual return relative to cost and effort.
Do I need permit approval for these weekend DIY projects?
Most purely cosmetic projects on this list (painting, hardware changes, peel-and-stick tile, floating shelves, and standard light fixture swaps) do not require building permits. Always verify local rules if your project involves new electrical circuits, plumbing changes, or structural work.
What are the best basic tools to invest in before starting a DIY project?
A reliable cordless drill, quality tape measure, stud finder, level, and a solid set of screwdrivers will handle the majority of weekend diy home improvement tasks. Add safety glasses and a good utility knife as essentials.
How do I prevent quick DIY projects from turning into multi-week messes?
Buy every material in advance, prepare the space on Friday, start early on Saturday, and strictly limit the project to one defined area. Taking “before” photos can also help you stay motivated and focused on the finish line.
Conclusion
Small, consistent weekend projects build both DIY confidence and real home value over time. You do not need to renovate an entire house to create meaningful change. Choose one high-impact update, gather your materials, and commit to finishing it within the weekend.
The projects on this list prove that thoughtful, focused effort produces results you can see and enjoy immediately. Explore more of our budget-friendly DIY home decor ideas to keep personalizing your living space step by step. Pick the one that addresses your biggest visual or functional frustration and start there.


Leave a Reply